Fogging fans, misting fans, or air conditioning fans (cooling devices) are among the most popular cooling devices today.
How to Make Simple DIY Fogging Fans, Misting Fans, and Air Conditioning Fans
However, due to financial constraints, many families still cannot afford these products. Understanding this, we would like to share with you simple ways to make DIY fogging fans, misting fans, and air conditioning fans at home. Please follow along with the article below.
How to Make a Simple DIY Fogging Fan
Tools Needed to Make a DIY Fogging Fan
- 1 plastic container (5 – 10 liters)
- 1 small plastic tube (2 – 3 meters long)
- Plastic pipe glue or super glue
- Children’s nasal spray bottle
Steps to Make a Simple DIY Fogging Fan
Step 1: Use scissors to cut off the nozzle of the nasal spray bottle, discarding the rest. Then, use a lighter to heat one end of the plastic tube and insert the nozzle, securing it with glue.
Step 2: Next, drill a small hole in the corner at the bottom of the plastic container, ensuring it fits the size of the plastic tube.
Step 3: After that, insert the other end of the plastic tube into the drilled hole and secure it with glue to prevent water from leaking out.
Step 4: Find a suitable place to hang the plastic container high enough so that the length of the plastic tube is at least 2 meters to ensure strong water pressure.
Step 5: Attach the end of the plastic tube with the nozzle to the top of the electric fan so that the mist will disperse evenly and further. And there you have it, your DIY fogging fan is ready—it’s that simple, right?
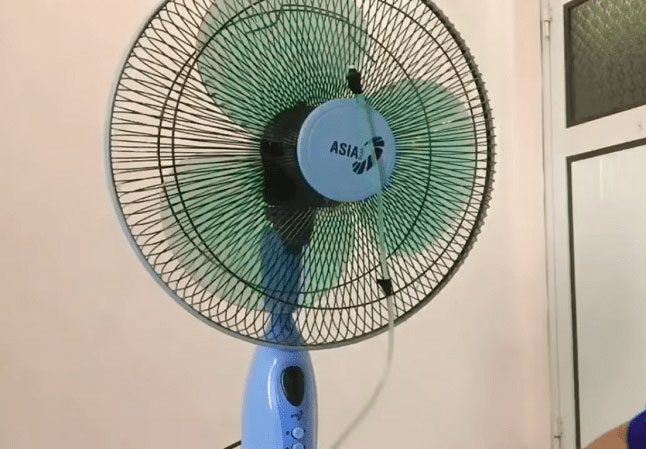
DIY Fogging Fan
How to Make a Misting Fan at a Very Low Cost
If you cannot make the fogging fan as described above, try making a misting fan at an incredibly low cost, almost zero.
Tools Needed to Make a DIY Misting Fan
- 1 electric fan
- 2 small soft drink bottles (approximately 500ml)
- 1 piece of wire
Steps to Make a DIY Misting Fan
Step 1: Use scissors to cut a section of plastic about 5cm from the bottom of the bottle, but do not cut it completely off, creating a cap. Then, drill small equal holes on half of the plastic bottle.
Step 2: Use the wire to attach the two drilled plastic bottles to the sides of the fan’s frame at the back, ensuring that the cap is facing down and the bottom of the bottle is facing up.
Step 3: Finally, add a few ice cubes into the two plastic bottles, turn on the fan, and enjoy the refreshing breeze.
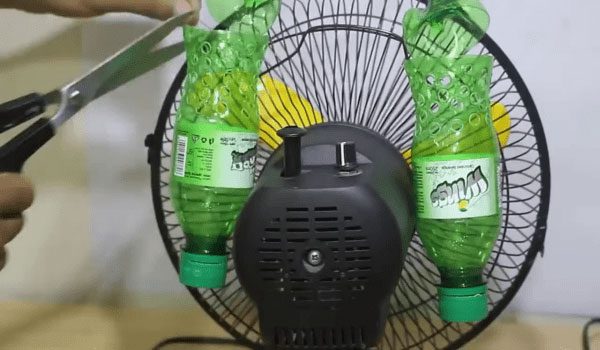
DIY Misting Fan
How to Make an Air Conditioning Fan at Home
Before starting, let’s understand the cooling principle of this fan. The DIY pump will be responsible for pumping water from a foam container filled with ice through the copper tube attached to the fan. Here, the copper tube will be continuously cooled, and the air blowing through the copper tube will bring cool air outside to regulate the temperature.
Tools Needed to Make an Air Conditioning Fan
- 1 electric fan
- 1 copper tube (6mm diameter, 3m long)
- 1 DC motor (6V)
- 1 USB connector with a wire longer than 1m
- 1 foam container (30 x 25 x 25cm)
- 1 flexible PVC tube (6mm diameter, approximately 1.5m long)
- 10 zip ties
- 1 thin aluminum or steel sheet that can be easily cut and bent
- 1 large bottle cap and 1 small bottle cap
- 1 medium-sized straw (similar to a boba straw)
- 1 small plastic piece (e.g., foam plastic)
- Knife, scissors, glue stick, hot glue gun (if available)
Steps to Make an Air Conditioning Fan at Home
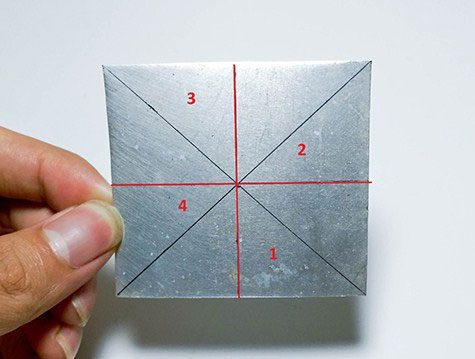
Step 1: Take a square piece of aluminum/steel, divide it into 8 equal parts, then draw a circle with the center at the intersection of the lines, with a diameter smaller than the large bottle cap by 3 – 4mm, and cut the aluminum/steel into a circular shape.
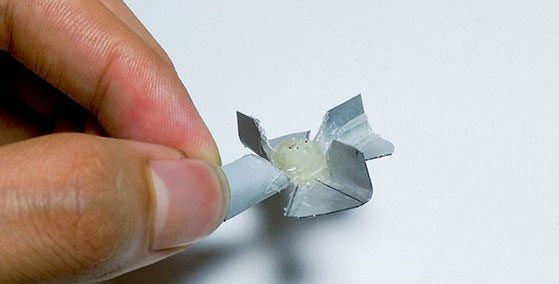
Step 2: Cut along the black line, stopping near the center of the circle, then fold the numbered pieces as shown along the red line to create the blades of the pump.
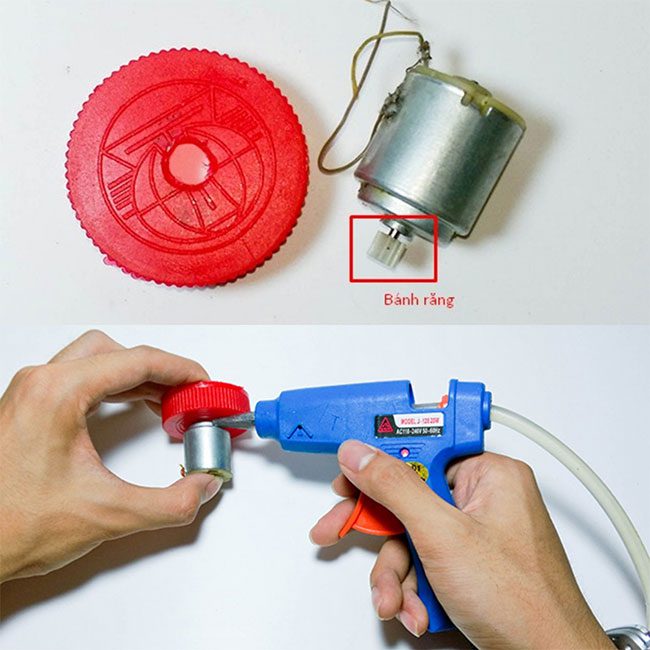
Step 3: Next, drill a hole in the center of the circle, place the gear piece into the slot, and use glue to secure it to the blade. Drill a larger hole in the center of the large bottle cap and a side hole (to create an outlet for the pump), then place the motor into the center hole and secure it with glue. Make sure not to let the glue touch the rotating shaft.
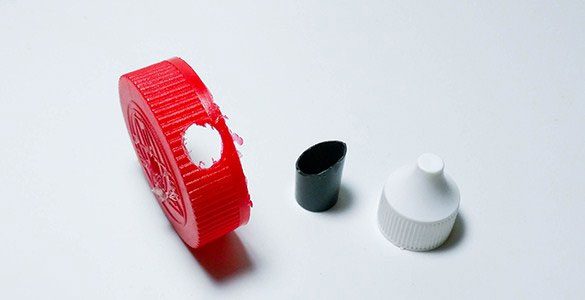
Step 4: Then, use the straw, cut it to a pointed end, and glue it into the side hole of the large bottle cap you just drilled. After completing this step, install the blades inside the bottle cap.
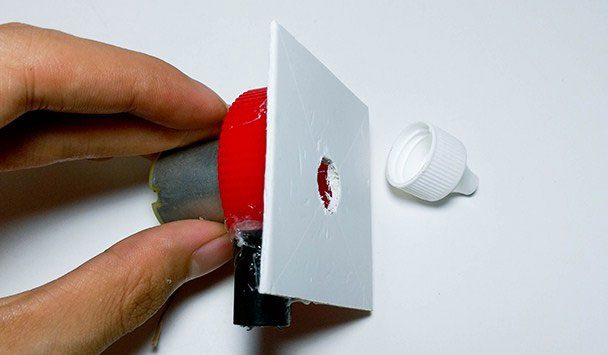
Step 5: Cut the plastic piece to fit the size of the bottom of the bottle cap, drill a hole in the center to create an inlet for water, and secure it to the bottle cap with glue, creating the pump chamber. For the small bottle cap, drill a hole and attach it under the plastic piece to create a channel for the water to flow into when placing this mini pump upside down in the water container.
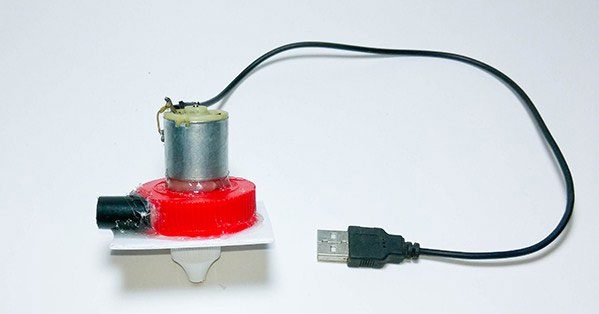
Step 6: Connect the USB power cable to the two terminals of the motor, and you have completed your mini pump!
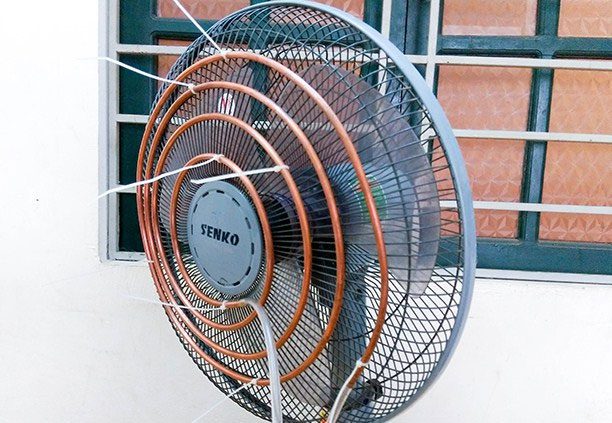
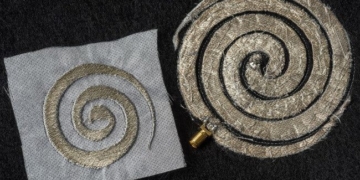
Step 7: Roll the copper pipe into concentric circles, leaving some space between the coils to allow air to flow through. Then, secure it to the fan frame using a tie. Next, divide the PVC pipe into two sections and securely attach each end to the copper pipe.
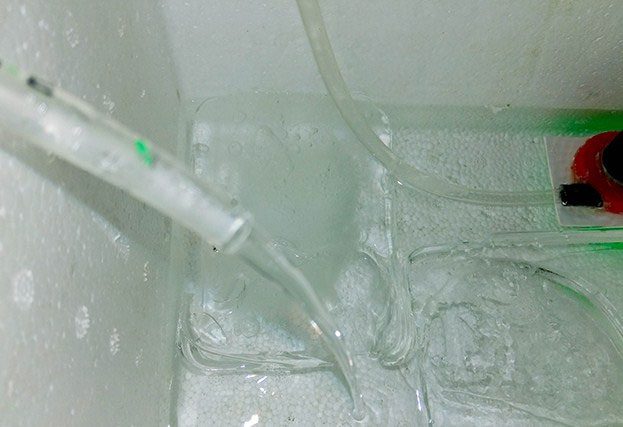
Step 8: Place ice and a sufficient amount of water into the foam box. You don’t need to fill it too much since it can be reused; just prepare enough to circulate through the copper pipe back to the foam box. On the side of the box, make two small holes to insert the two plastic pipes: one for the outgoing water and one for the returning water.
Connect the other end of the outgoing water pipe to the water pump (prepared in Step 4), while the return water pipe can be left free for the water to flow back into the box.
Step 9: Finally, plug the USB end into a power source to start the pump, turn on the fan, and slowly enjoy the cool breeze blowing through the copper pipe. Your DIY “air cooler” is now complete.
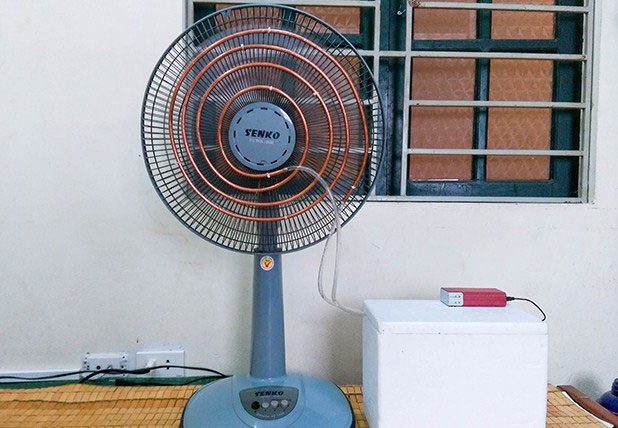
The final result of the air cooler creation process


